Using logos for Retina and high density devices
What is a high density screen?
Over the past few years, computer, smartphone and now TV screens have more than doubled in pixel resolution. This means the individual pixels that make up the screen have become so tiny they are virtually imperceptible to the human eye at a typical viewing distance. Apple first named these high resolution screens Retina displays, though the generic industry-wide names are HDPI (high dots per inch), high density, and more recently 4K or UHD though these are usually just TVs.
In this guide we’re focusing on smartphones as these are the most common high density devices.
Logos on high density screens
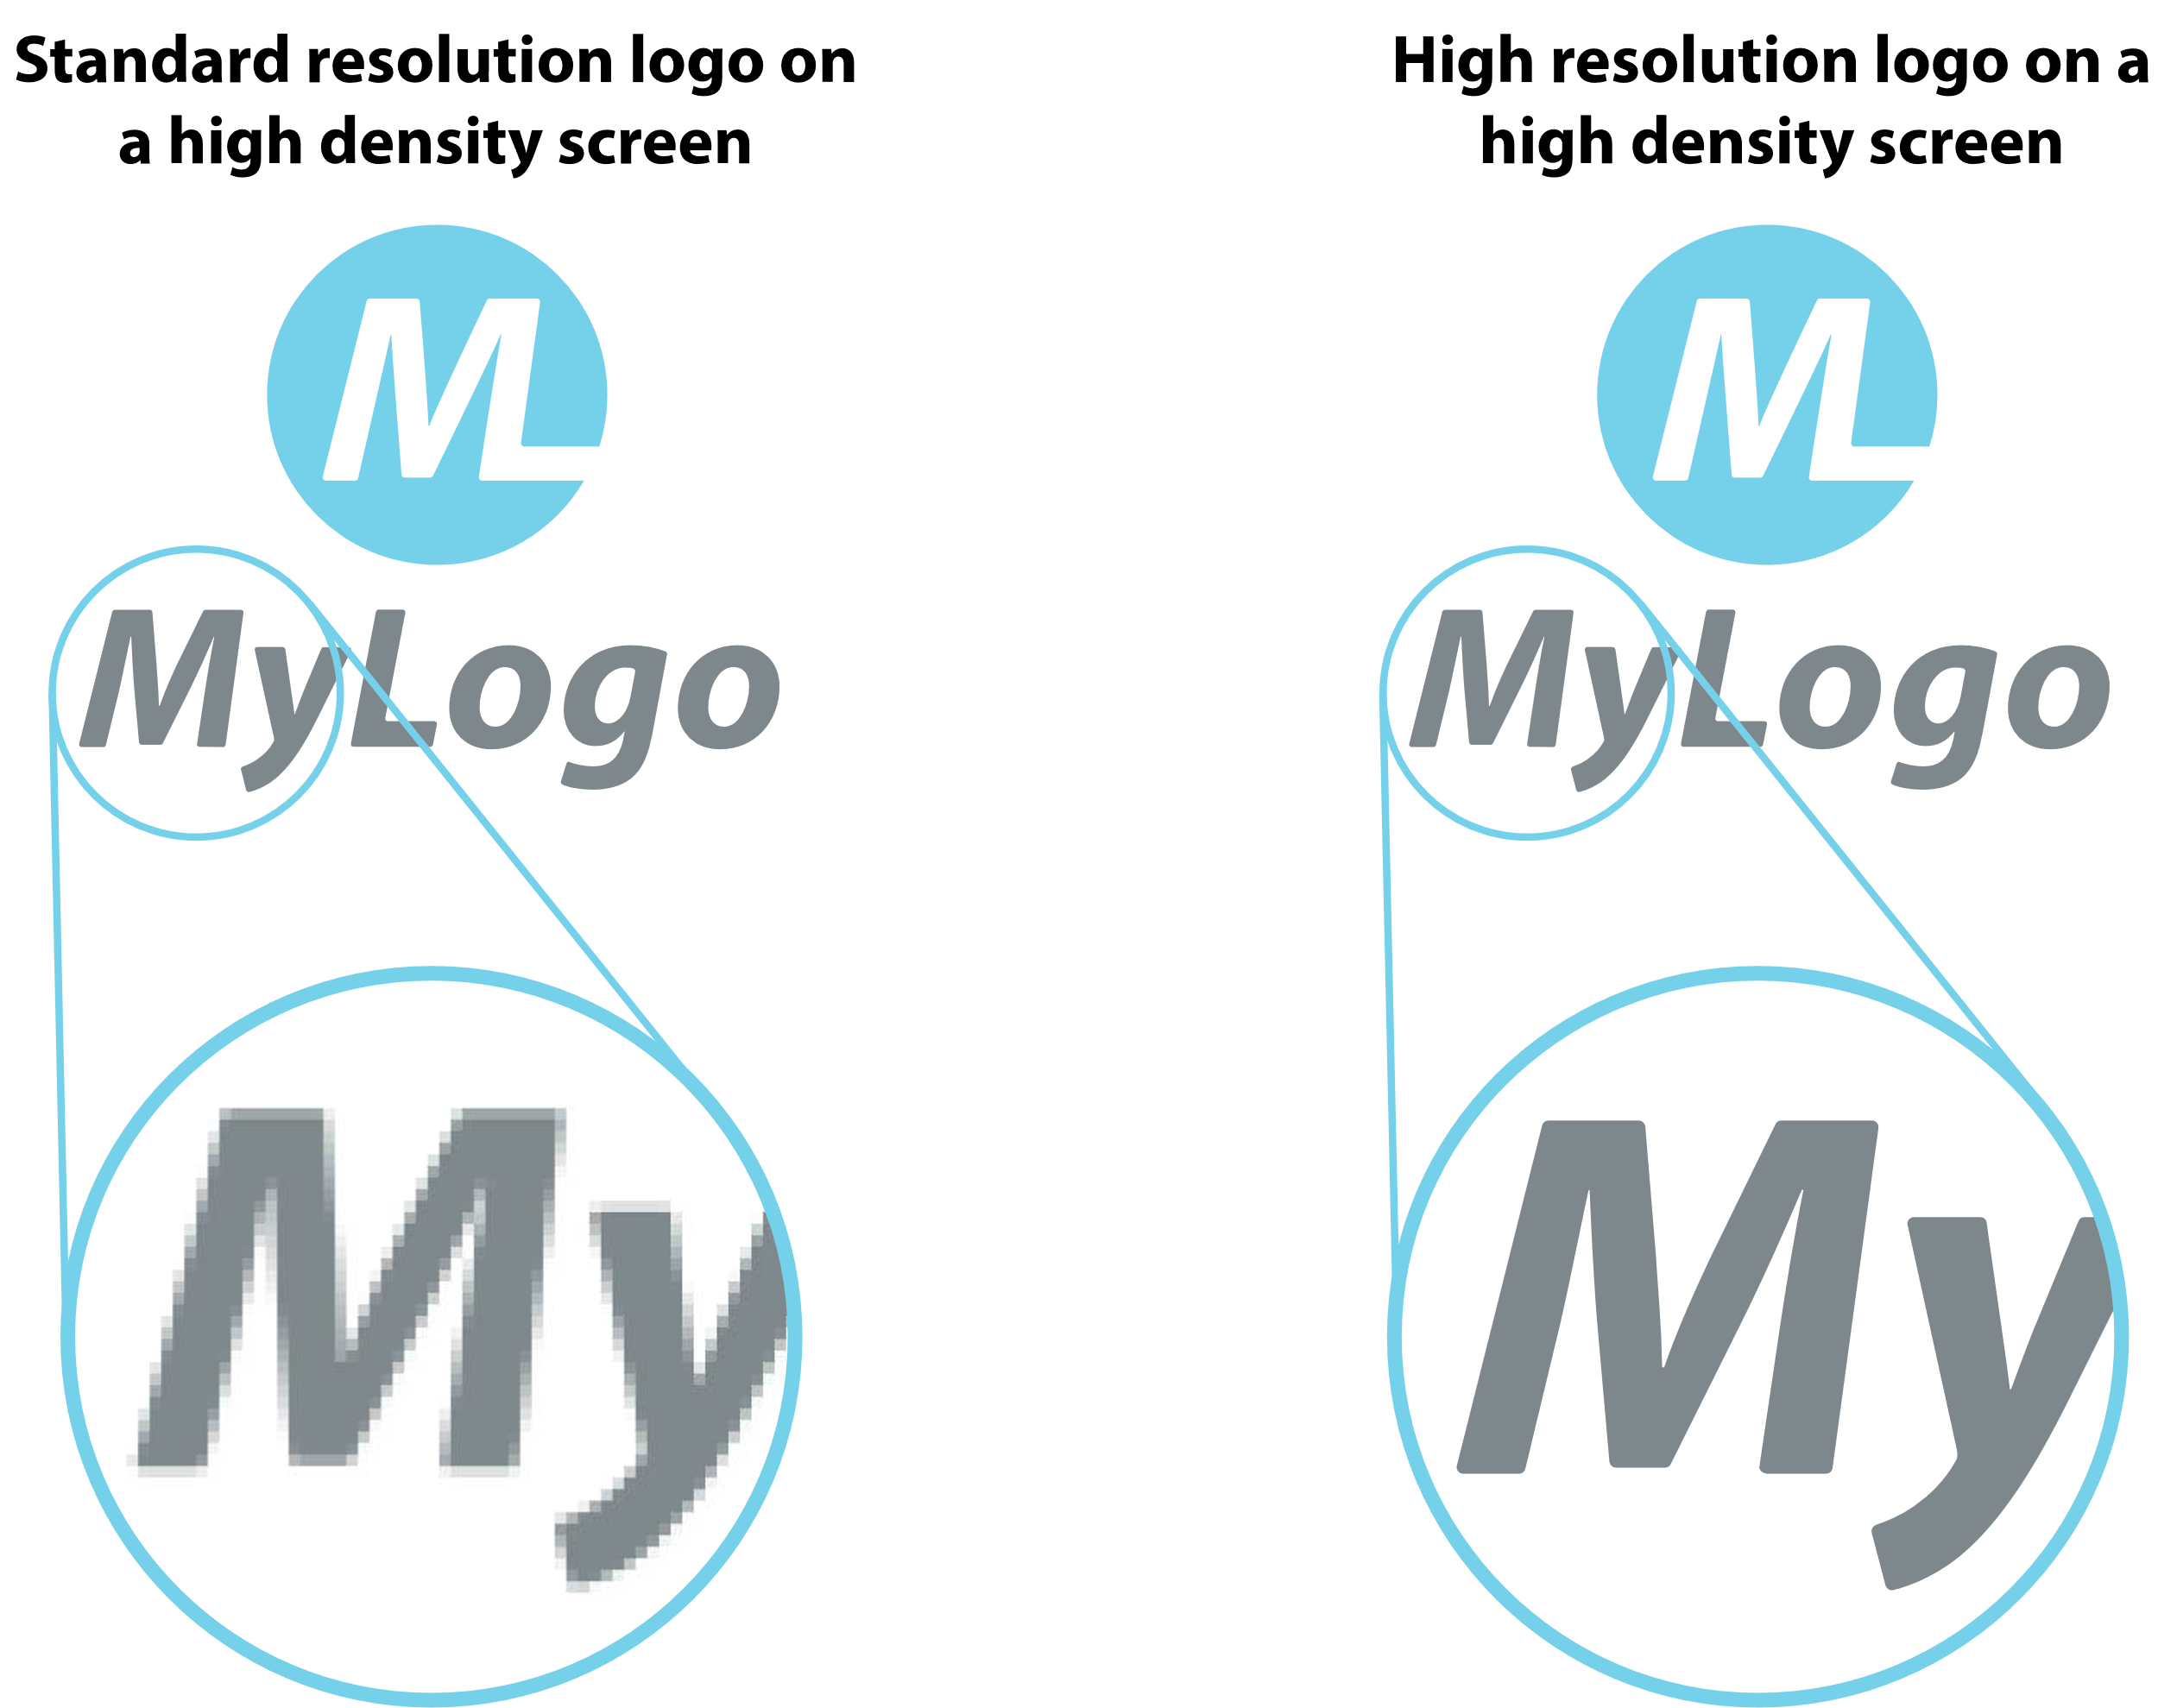
Due to high density screens having such tiny pixels, logos created for traditional low density screens would be displayed much too small on modern devices. To correct this, high density devices typically double the size of these images to make them look the same physical size as seen on low density screens. Unfortunately, the result of this re-sizing is images that appear blocky or blurry on high density screens.
But there is a solution…
Creating images for both low and high density screens
If you want your company or brand logo to look its best on both low and high density screens, use an image that is double the pixel resolution required on a standard low density display, then set the dimensions to 50%. This way it will look its best on both low density desktop screens, as well as modern high density screens like smartphones and tablets.
Using high density logos in Snap XMP
For this worksheet, our example survey logo on a standard definition screen is a 300px wide image, but we want it to look sharp on high density devices.
- First, obtain or create a 600px wide version of the normal 300px logo. Your graphics or branding department may need to help out.
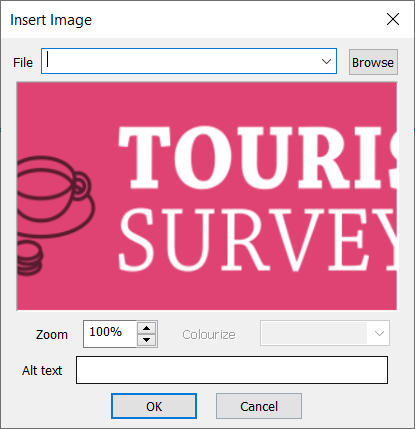
- Using Insert › Image, choose the 600px logo to insert into the survey.
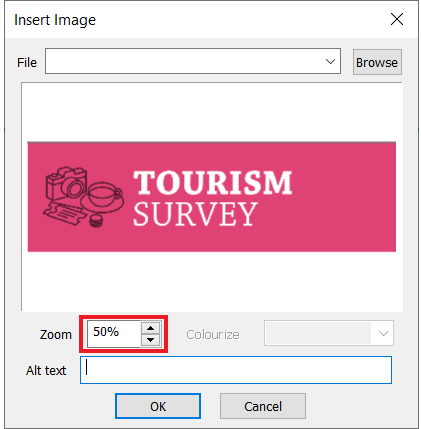
- Using the Zoom input, change the value to 50%.
- Click OK to insert the image.
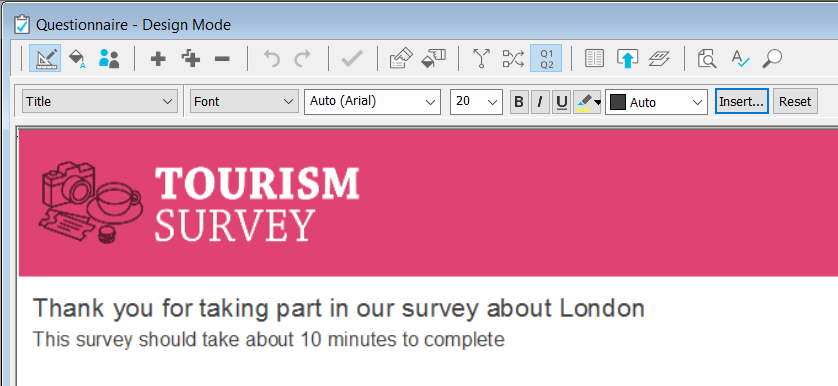
Note: The logo may look a little blocky at this point. Don’t worry, that’s just how Snap XMP Desktop previews scaled images to prevent slowing down your computer.
Publish your survey to test on various device screens. It should look good on low density screens and sharp on high density devices.
Dos and Don’ts
- Do create high-resolution logos and graphics from original artwork files. Your branding, graphic design or marketing department may need to help out.
- Do consider the maximum width of your logo or graphic on the smallest devices. We recommend high definition logos being no larger than 600 pixels wide.
- Don’t use this method with photos as this could cause surveys to load slowly on poorer internet and data connections. Only create high definition logos, icons or diagrams.