Nuclear Industry Safety Culture Inventory (NISCI) Tool
Welcome to the Nuclear Industry Safety Culture Inventory. This survey tool helps companies to measure and benchmark their safety cultures.
Log in to ONR Tools
Prior to logging into ONR Tools you will need
- The ONR Tools web address. This is supplied by your organisation.
- The email address that you will use to log in to ONR Tools.
- Your password. When you are logging on for the first time, this may be a temporary password provided by your organisation. In this case, you will be asked to create a new password.
Once you have all the information you need, follow these instructions to log in.
- Open a web browser and enter the ONR Tools web address. You will see a Log in to ONR Tools log in request.
- Enter your email address and password then click the Log in button.
Once you have successfully logged in, the first page shown is your work summary where you can view your surveys, templates and folders.
When you have finished, log out using the Logout button on the banner at the top of the page.
Overview
After logging in, the first page is split into two sections
- Your work, where you can see the surveys, folders and templates that are owned by you and that are shared with you by other users.
- an overview area where you can view the item that you have selected in the Your work area.
When you open the tool for the first time, you will see one supplied template, titled NISCI tool: Click here to get started.
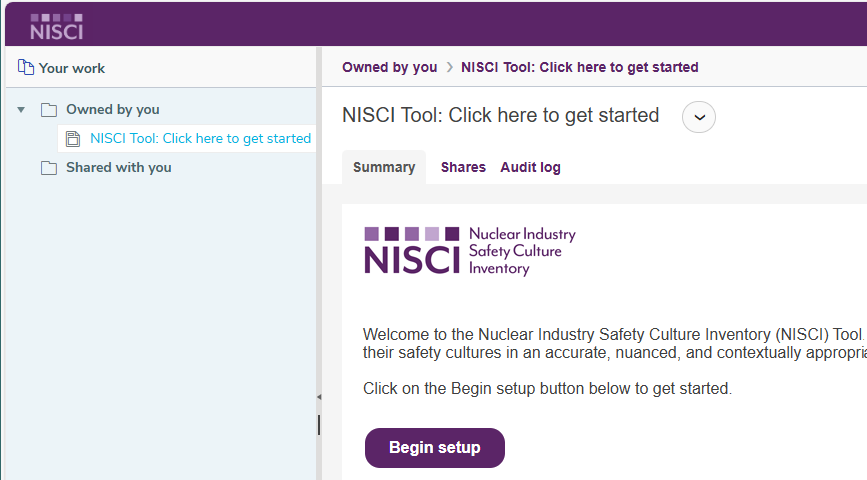
Creating a survey
The NISCI tool template supplied, titled NISCI tool: Click here to get started, is used to create a new NISCI survey.
- Click the NISCI tool: Click here to get started to open the NISCI tool setup.
- Click Begin setup to start creating your NISCI survey.
- Enter a title for your survey
- Confirm that you have read and accepted the terms and conditions. Find out more by clicking on the Terms and Conditions link.
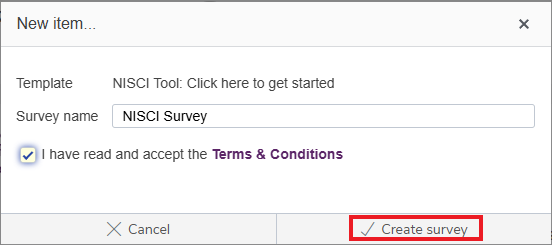
- Click Create Survey to create your NISCI survey.
This opens the NISCI Questionnaire Set-up Wizard.
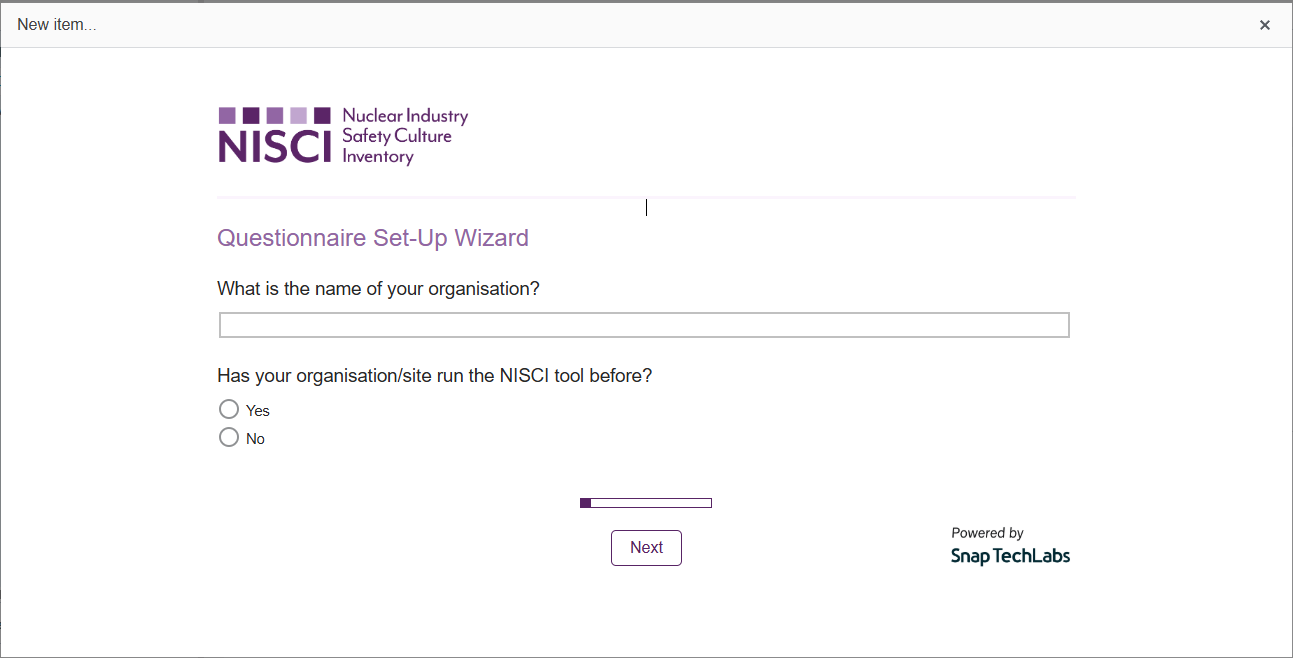
The wizard guides you through the process of setting up the questionnaire by asking a series of questions about what you want to include in the questionnaire. When you have completed the questions on the page, click Next to move to the next page, until you have reached the final page. Click Build to build the survey.
After the build process is complete, the survey opens showing tabs that let you review the survey, collect responses and view reports on the survey responses.

You can return to your work summary by clicking Close at the top of the page.
Managing the survey
In your work, click the survey link that you want to open. This shows a summary of the survey where you can see the status and the number of responses received.
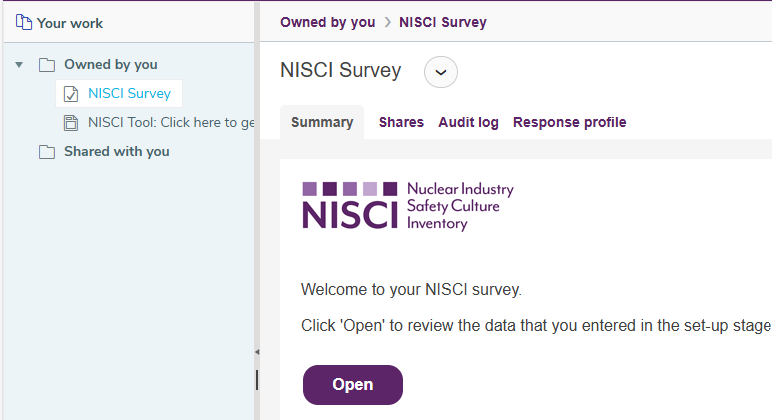
Click Open to open the survey showing tabs that let you preview and edit the survey, collect responses, and view reports on the survey responses.
Review/Edit
You can review and edit the information submitted in the set-up stage, and preview your online survey. When you’re happy with this, you can move onto the Collect responses tab.
Preview
Previewing the published questionnaire lets you make sure the questionnaire works correctly by entering a number of test responses. These test responses will not be saved or affect the survey data responses.
- Click the Preview URL button. This opens the questionnaire in a new web browser tab.
- This starts with a notice that this is a survey preview and responses entered in the preview will not be saved and will not affect the survey results.
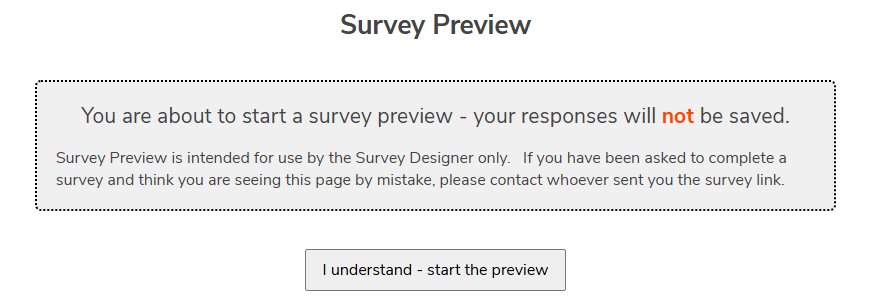
- Click the message ”I understand – start the preview” to proceed. The preview starts the questionnaire and you can enter some test responses to check your questionnaire. If you need to make any changes, you can rebuild the survey and repeat this process.
Edit
To make changes to your survey, click the Rebuild survey button.
This opens the NISCI Questionnaire Set-up Wizard. It is pre-filled with the information you submitted previously. Rebuild mode lets you run through the set-up stage again and select different options (e.g. change the number of locations/sites included or switch between the full, short, or super-short form of the survey).
The wizard guides you through the process of setting up the questionnaire by asking a series of questions about what you want to include in the questionnaire. When you have completed the questions on the page, click Next to move to the next page, until you have reached the final page. Click Build to build the survey.
Rebuild is not available if you have already started collecting responses.
Your information
Click the checkbox to view an on-page summary of the information you submitted in the set-up stage.
Collect Responses
This section lets you start, pause, and stop your online survey, or schedule the start and end dates. You can also see the status of your online survey, and view your survey URL and QR code.
When you’re ready to view your results, move onto the Report tab.
Status
You can check the status of your online survey and the numbers of responses received.
| Status | Description |
|---|---|
| Not started | Interviewing has not started. |
| Scheduled | Interviewing is scheduled to start at a future date set in the Schedule section. |
| Interviewing | Interviewing is live. |
| Paused | Interviewing is paused. |
| Closed | Interviewing is closed. |
Schedule
This section lets you schedule interviewing for your survey. You can use the date pickers to select the start and end dates for your online survey. The system will automatically start your survey on the Start interviewing date and close it on the End interviewing date.
You can also start interviewing immediately by clicking the Start survey button.
When interviewing is live, you have the option to pause or stop interviewing by clicking the Pause survey or Stop survey buttons.
Survey URL and QR code
This section contains the survey URL and QR code that your participants will use to complete the survey.
When you are ready to collect responses, send the Survey URL or QR code to your participants.
Report
There are up to two reports to help you analyse your organisation’s results. The NISCI report is always available and the optional Comments report is available if you opted to add open-ended questions in the set-up. You can apply filters to your report to look at a specific area in more detail. You can view the filter information underneath the Run report and Run comments buttons.

Please note: you will need a minimum of 10 responses to run a report. Until then the report will be unavailable.
Run report
Click on the Run report button to run your NISCI report.
You can run your report as many times as you like, including while you are still collecting responses. Each report you run will reflect the data received at the time of running, along with any filters that are applied.
Reports will open in a new window and will take 1-2 minutes to run.
Run comments
Click on the Run comments button to generate a report of responses to the open-ended questions that you added to your survey.
This report is only available if you have included a comments question in the original set-up.
Apply filters
By default, the report will contain all data collected in your survey, but you can apply a filter to create filtered versions of your report. For example, you can run a report for a specific site or work area.
You can view the filter information underneath the Run report and Run comments buttons.
To remove any filters currently applied to the report, select Clear all filters.
Closing the survey
You can return to your work summary by clicking Close at the top of the page.
When you have finished, log out using the Logout button on the banner at the top of the page.