Inserting images
Graphics make a questionnaire more interesting and engaging, helping to improve response rates. Adding your logos and background watermarks provides branding and helps your respondents associate the questionnaire with your organisation. Images make a great alternative to text in questions, such as showing pictures of flags to select a country.
In Snap XMP Desktop, graphics can be placed in any question text on the questionnaire. This includes the question text, answer text, and the background of the question or page. Snap XMP Desktop supports a number of image file types: bitmaps (.bmp), JPEG (.jpg), PNG (.png) and GIF (.gif).
Snap Surveys provides a range of images for surveys that you can download and use. These survey images include icons, rating scales and backgrounds.
Inserting an image
- Open the survey in the Questionnaire window. Make sure that you are in Design mode
 and that the toolbar topic is set to Font.
 - Place the cursor at the point where you wish to insert the image.
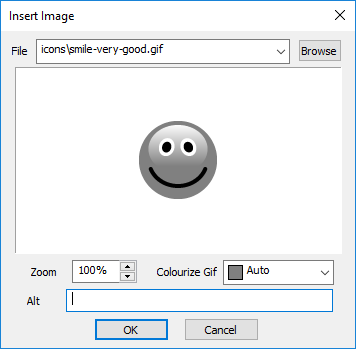
- Click Insert and select Image from the menu. This opens the Insert Image dialog.
- In File, select the image file from the list or click Browse to select the file.

- Use the Zoom control to enlarge or reduce the image. This changes the size of the image shown in your questionnaire. For example, setting the zoom to 50% will mean that the image appears at half the height and half the width.
- In Colourize Gif, select the colour, if applicable for the type of image.
- In Alt, enter text that describes the image. The browser will show this text as an alternative when it cannot display the image. Adding this improves accessibility as screen readers use this text.
- Click OK. The questionnaire now shows the image.
- Double click on the image to edit it in the Insert Image dialog.
Adding a background
- Open the survey in the Questionnaire Window. Make sure that you are in Design Mode

- Select Background in the toolbar topic.
- In the next drop down list, select the area to apply the background image. Select (All) for entire question or select (Page) for the questionnaire background.
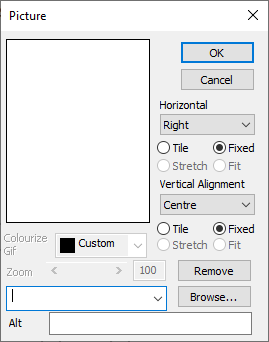
- Click the Picture button. This opens the Picture dialog.

- Select the image file from the list or click Browse and browse for the image file.
- Specify the alignment and stretch you would like for the image and whether GIFs show color. (Note that you cannot scale picture backgrounds used in online surveys)
- In Alt, enter text that describes the image. The browser will show this text as an alternative when it cannot display the image. Adding this improves accessibility as screen readers use this text.
- Click OK. The questionnaire now shows the image.