Managing Shares
When adding a user who has access to shared work you can allow them to also share this work with other users. For example, one user may be responsible for building the questionnaire which they share with the supervisor of a team of analysts. The supervisor has permission to share this work with the other team members.
CAUTION: When you share a resource with another user, they will have access to that resource until you remove the share access. Careful consideration should be made when giving share access to ensure users do not have access beyond the required time (for example when someone leaves the business). Allowing users to Manage shares should be used with caution and you should regularly check who has access to your resources and that the access level is appropriate.
User permissions
| Permissions | Description |
| Analyst | This permission gives access the Analyze section of a survey, including using pre-defined filters and contexts. |
| Analyst plus data download | This gives the same permission as Analyst with the addition of the ability to download the survey data, and create a custom filter and custom context. |
| Intermediate researcher | This gives a reduced researcher access. The user has full access to the Build and Analyze sections, but reduced access to the Collect section. The user cannot start or stop interviewing for the survey. An intermediate researcher can publish and update a live survey using Snap XMP Desktop. |
| Interviewer | This permission allows access to use the survey as an interviewer, but does not give access to the Build, Collect or Analyze sections. |
| Researcher | This gives full access to all sections of the survey: Build, Collect and Analyze. |
Adding a user to manage shared work
- Log in to Snap XMP Online and the first page shows Your work. If you are already logged into Snap XMP Online, click Home to return to Your work. The Summary tab is shown by default.
- Select the item you want to share. This may be a folder, survey or template.
- Select the Shares tab. This lists the users who you have shared this folder with.

- Click the Add user button to enter the details of the user you want to share this folder with. The user must have a Snap XMP Online account.
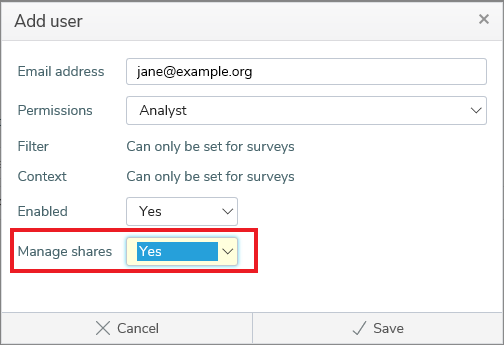
- In the Add user dialog enter the user’s email address that they use to access their Snap XMP Online account.
- Next set the Permissions for the user.
- The user can only create shares for other users with the same Permission they have or one with more restricted access.
- A Researcher can create shares with all the permissions
- An Analyst plus data download can create shares with the Analyst plus data download or Analyst permission
- An Analyst can only create shares with the Analyst permission
- An Interviewer can only create shares with the Interviewer permission
- Set Enabled to Yes for the user to have access to the shared item.
- Set Manage shares to Yes for the user to be able to share the folder with other Snap XMP Online account users. The owner of the shared item retains control of any shares that other users create and can edit or remove them.
- When you have entered the user details, click Save to add the user. The user has access to the shared folder. The Shares list for the folder displays the new user.
Accessing shares that you can manage
- Log in to Snap XMP Online and the first page shows Your work. If you are already logged into Snap XMP Online, click Home to return to Your work.
- Click Shared with you on the side menu located on the left hand side.
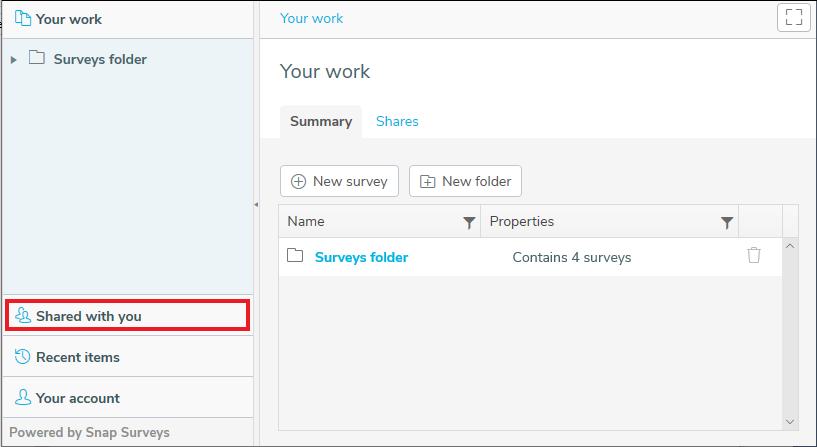
- Click Select one to show a list of the users who have shared work with you.
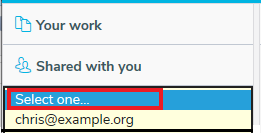
- Select the user you require. This shows the folders, surveys and templates that are available to you.
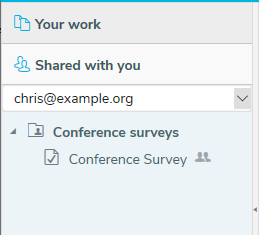
- Select the folder, survey or template. The Summary details are shown by default. The Shares tab is available when you have permission to manage the shares.
- Click the Shares tab. The Shares list shows the new shares
Re-sharing work with another user
In the Shares tab, click Add user and complete the Add user dialog with the new user’s details. The Shares list shows the new user.
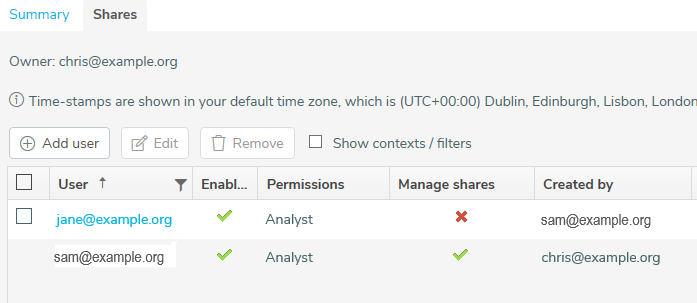
You only have access to edit the users that you have added. The selection box appears on the rows next to the users that you can edit or remove.
The owner of the item has access to all the shares that are created and can edit or remove them.